How To Take Epic Waterfall Photos
I stop and listen, abated breath waiting in the wings, waiting. A low rumbling sound, a sound of someone clearing their deep voice, eager to spout forth something. Continuing on the path before me, I am hopeful it is what I came for, planned for, with great anticipation and a grateful heart of gladness as we made it, or did we?
Bear Creek Trail, Telluride, Colorado
We went on a hike in the picturesque town of Telluride, the Bear Creek Trail, during the summer months, with summer attire, and most importantly, camera in hand. Eagerness was evident as I practiced long exposure shots close to home, so I felt ready to encounter a large waterfall as Colorado is known to have magnificent waterfalls. Surrounded by trees, and sounds of water sliding down, my husband and daughter accompanied me, along with 10,000 of our closest fly friends. Literally!
After some time of walking and swatting at the flies, we heard a distant sound that I was hoping the star of the event would show up. But it sounded, how shall I say, different. The sound would come and go, even if we were at a standstill. I looked up to the heavens and saw the angry clouds, closing on each other, ready to bring out the band sounds of drums, bass, strings and trumpets. The hair on my arm prickled as we hurried our pace a little more faster, anticipating the eventual down pour from up above.
Kaboom! I yelped and clung onto my husband, fear taking over for a moment. Rain with a gentle pitter patter, unlike its predecessor announced itself. Not having a change of heart, we moved forward, as another sound came on the horizon. Please let it be what we came for!
Almost to the star of the show!
Did we make it? Or did we turn around? Before I continue with this exciting story, here are some top items to bring to will help you with long exposure photos of waterfalls:
Camera, preferably a DSLR.
A tripod. This is a must!
A neutral density filter. This is good for those soft, silky pictures, but not required.
Patience. A lot of it!
Place the tripod at a diagonal from the waterfall. You don't want to look straight at it.
As you are close to the waterfall, it can take your breath away, literally. Don't get too close if you have breathing problems. Also, watch for water splashes on your lens. Unfortunately, it can really ruin your photo, unless you can crop it out. Let's take a look at the settings:
The first setting to adjust is your ISO. For most waterfall shots, it should be around 100 ISO. If it is a little dark out, raise it up to 200 ISO. You are capturing light through the ISO and a waterfall photo can be too bright if the ISO is too high.
The second setting is the shutter speed. This is very important! This is where you slow down the waterfall in your photo. I would start around 1/4. Look at your LCD screen to see if you can see the waterfall. If it is too dark, raise your shutter speed little by little, like 1/5, 1/6. For me, if I go below 1/4, the waterfall photo is too dark. If it is too high, you are risking overexposure. This is where patience is crucial for that beautiful long exposure shot.
The aperture is next. The light can be overexposed here too, so let's adjust for that. This is the f stop area. The smaller your f stop, the brighter your picture. The larger your f stop, the darker your picture. I would try f 16 at first. Look at your LCD screen to see if the waterfall is visible in your photo. If not, make the adjustments as necessary, by either going to f 18 or f 14. A little adjustment at a time.
In order to do all of this, you must be in manual mode. I love this mode because it gives me the flexibility to capture the colors and movement I want in my photos.
A very important part of long exposure is a timer. You should have a timer on your DSLR. I have a choice between 2 seconds and 10 seconds. Pick your time and select it. It doesn't matter which one. The photo will be beautiful.
Now, it is time to take those fabulous long exposure photo shoots of waterfalls! Take many photos at different shutter speed settings. The shutter speed will effect the flow, so you will see the results in your photos.
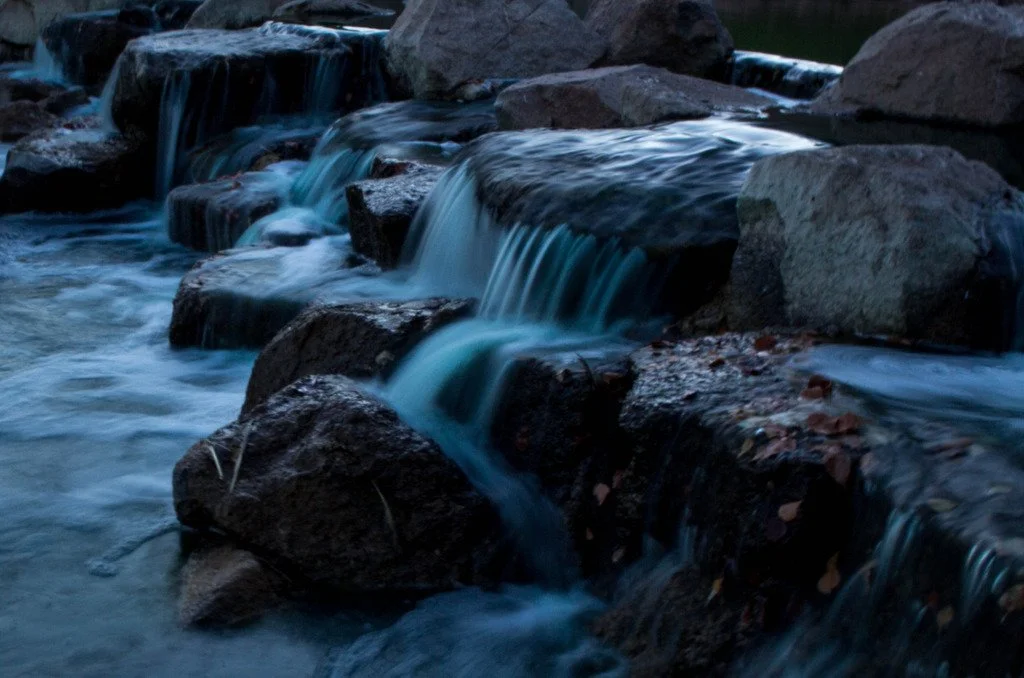
Important! Important! Important! Try to take waterfall photos without direct sunlight. This can be challenging, but is doable. Either wait till right before the sun rises or as the sun sets. Or if the waterfall is in shade, than awesome! You will have great waterfall photos!
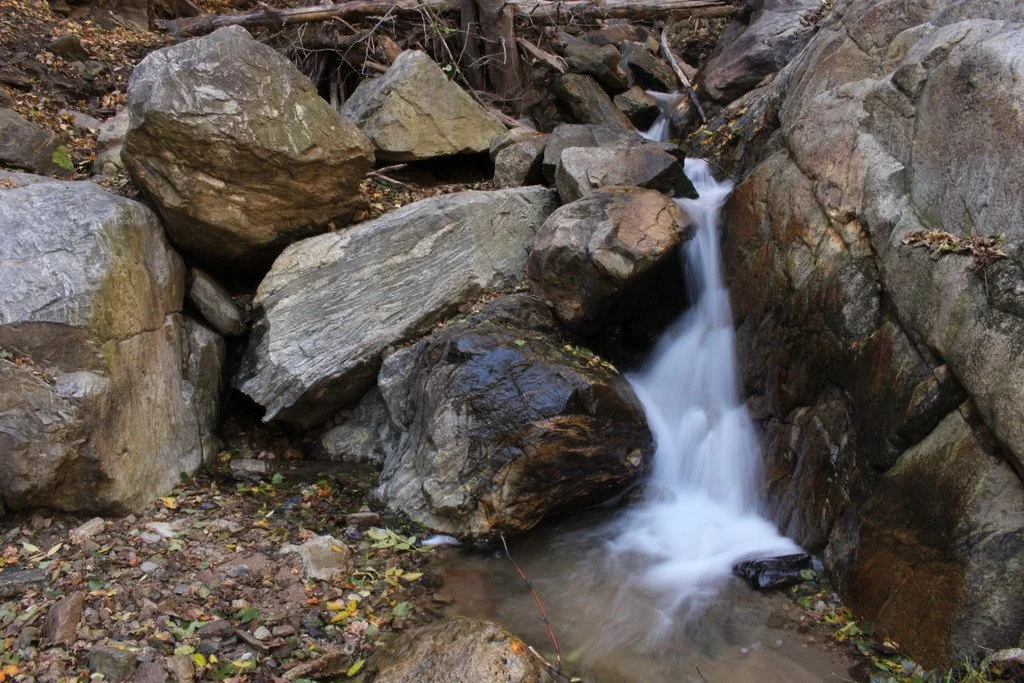
Waterfall with direct sunlight - no bueno!
My husband (bless his heart) got the tripod setup in lightening speed as we did not want to get struck by lightening! We were shivering, soaking wet, although I did have an umbrella, I mostly used it to protect the camera. Really a bag would have done a much better job protecting the camera.
I didn't have the time to do all of these previous mentioned settings. Since it was raining and thundering, we were in a bit of a hurry. My frozen fingers (cold rain was pouring on us) danced on the dials as I took shot after shot of these wonderous waterfalls. I may have adjusted it once and only took a few pictures. Our safety was important, so we got out there as quickly as we could.
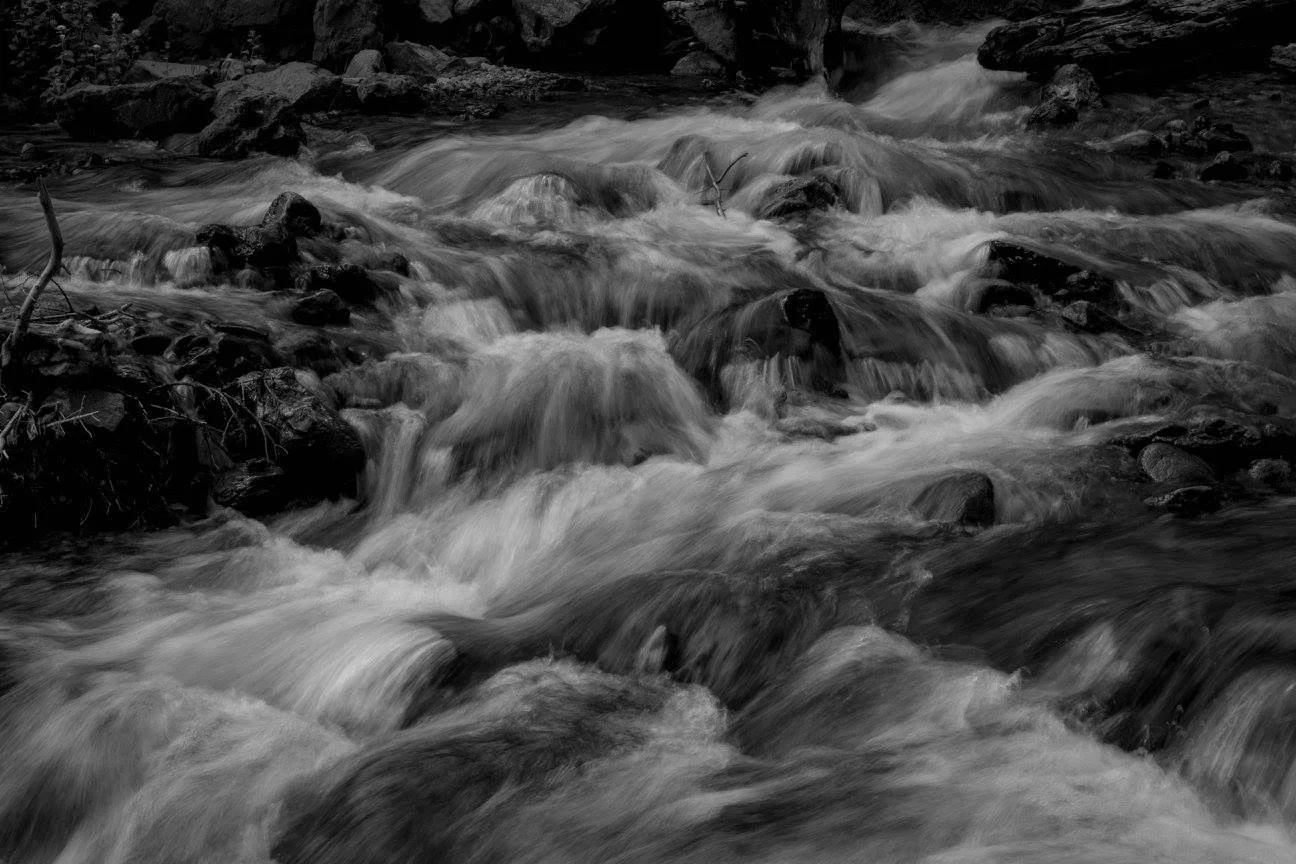
I had to crop this photo as it had rain droplets and turned it into a black and white photo.
I would say the hike was worth it, the waterfall was worth it, but the storm was not. I do not recommend taking photos in any type of storm, but this one came upon us suddenly and we had a long hike back.
To get get good at long exposure, practice, practice, practice. It is rewarding and yet challenging. Just to let you know, I used a 18-55 mm lens, no filter and lots of luck. Others will say to use different lenses, or filters, and yes, I do agree. For me, if I don't have it on hand, I just use what I have. Now, go out and take those fantastic long exposure photo shoots of waterfalls and enjoy yourself!
Share with us a place you have taken waterfall photos with long exposure!


